
While Markdown doesn’t offer a built-in text or image alignment features, you can center an image using raw HTML tags.
To center an image in GitHub readme.md file, wrap the image inside the div tag and use the align=center inline style element.
This tutorial explains you how to center images in your GitHub readme.md file using <div> tag. It also explains how to place images side-by-side and centering them horizontally.
Centering an Image Using a <div> Tag and the Align attribute (Recommended)
The div tag defines a division or a section in an HTML page. It acts as a container for the HTML elements. Also, it can be styled/aligned using the class or id attribute. Any HTML element can be wrapped inside the div tag and styled using the attributes.
The align attribute in HTML is used to specify the horizontal alignment of text, images, or other HTML elements within their containing element. This attribute allows developers to control the positioning of content either to the left, right, or center within the designated space.
To center an image using the <div> tag,
-
Wrap the image inside the
<div></div>tag -
Apply the
align=centerinline style within the<div>tag.
The following code demonstrates how to use the <div> tag to center the image:
<div align="center"> <img src="https://i.imgur.com/8BgVXcY.png"></div>The image will be centered and displayed in the center of the screen as follows:
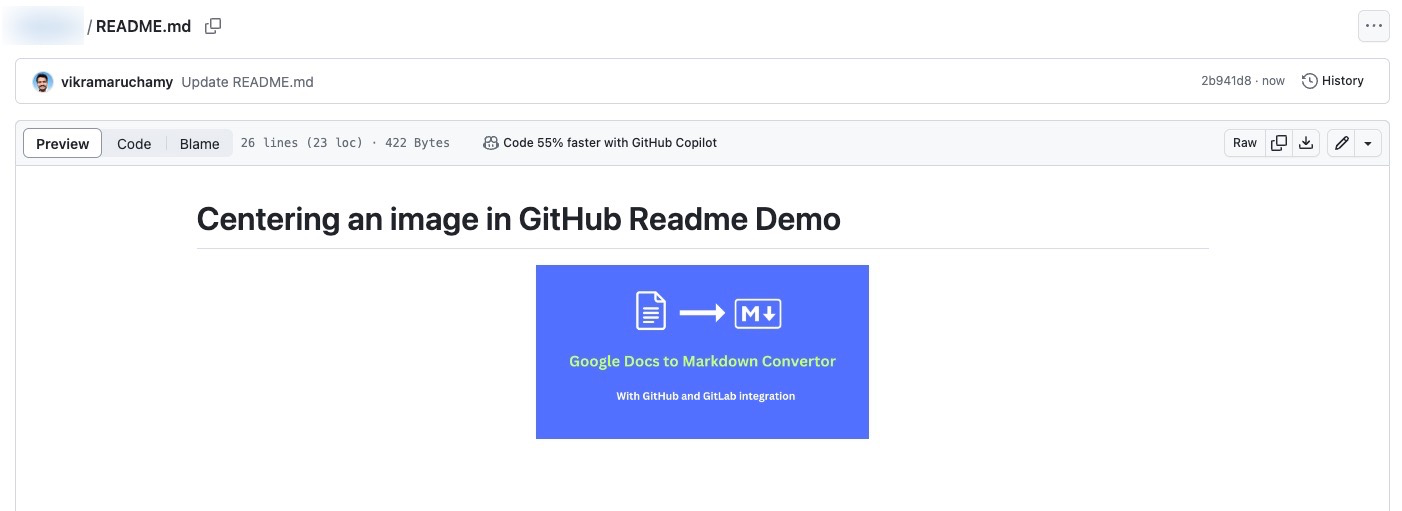
Centering an image in the readme.md file in GitHub
Centering an Image Using a <div> Tag and Specifying Size
To specify the size of the image while centering it,
-
Use the
<width>and the<height>attributes in the<img>tag and specify the values in%. -
The percentage value is relative to the size of the containing element, providing a responsive design that adjusts to different screen sizes.
<div align="center"> <img width = "33%" src="https://i.imgur.com/8BgVXcY.png"></div>In this example, the image is set to occupy 33% of the width of its containing element.
-
This approach allows the image to scale proportionally based on the available space, making it responsive to various screen sizes.
-
Adjusting the percentage value can control how much of the container’s width the image takes up, providing flexibility for different display contexts.
Placing Images Side by Side and Centering Them Horizontally
To place the images side by side and center them, use the width attribute to specify the amount of width each image must occupy.
For example,
-
To position two images side by side, set the image width to 50% so that each image occupies half of the screen space.
-
To position three images side by side, set the image width to 33%. The screen will be divided into three parts, and the images will be arranged horizontally.
Example
<div align="center"> <img width = "50%" src="https://i.imgur.com/8BgVXcY.png"><img width = "50%" src="https://i.imgur.com/8BgVXcY.png"></div>This will place the images side by side horizontally as shown below:
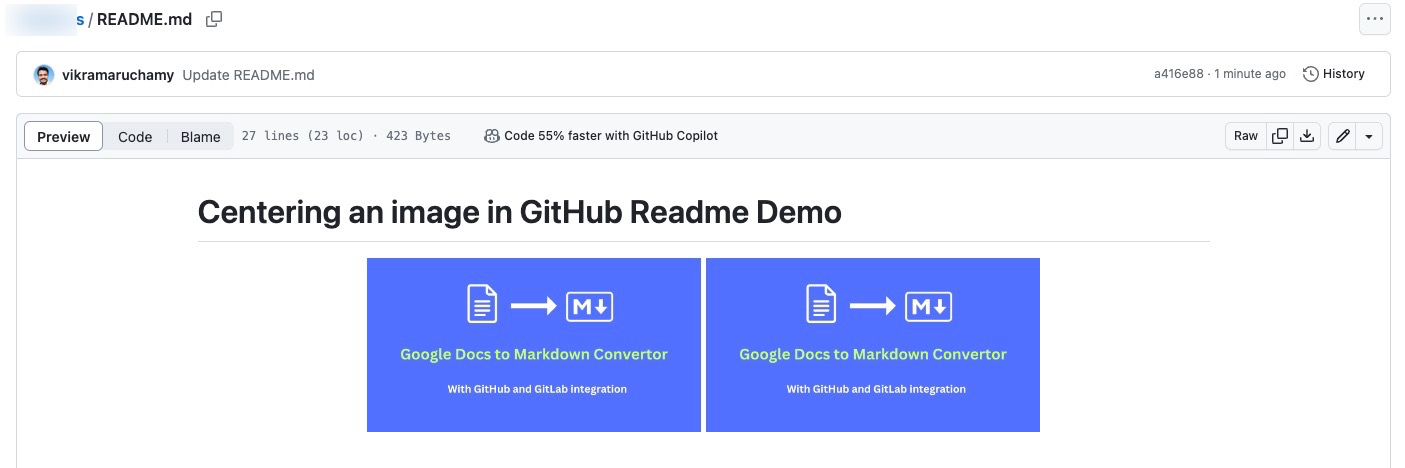
Placing Images Side by Side and Centering Them Horizontally
Deprecation of the align Attribute
The align attribute in the HTML <div> element has been deprecated in HTML5 in favor of more modern and flexible CSS styles for alignment.
This guide is created specifically for GitHub Markdown files, and it is not recommended to use the same approach in other Markdown documents intended for publication on a site built with HTML 5.